How to Get Your Garden Ready for Fall
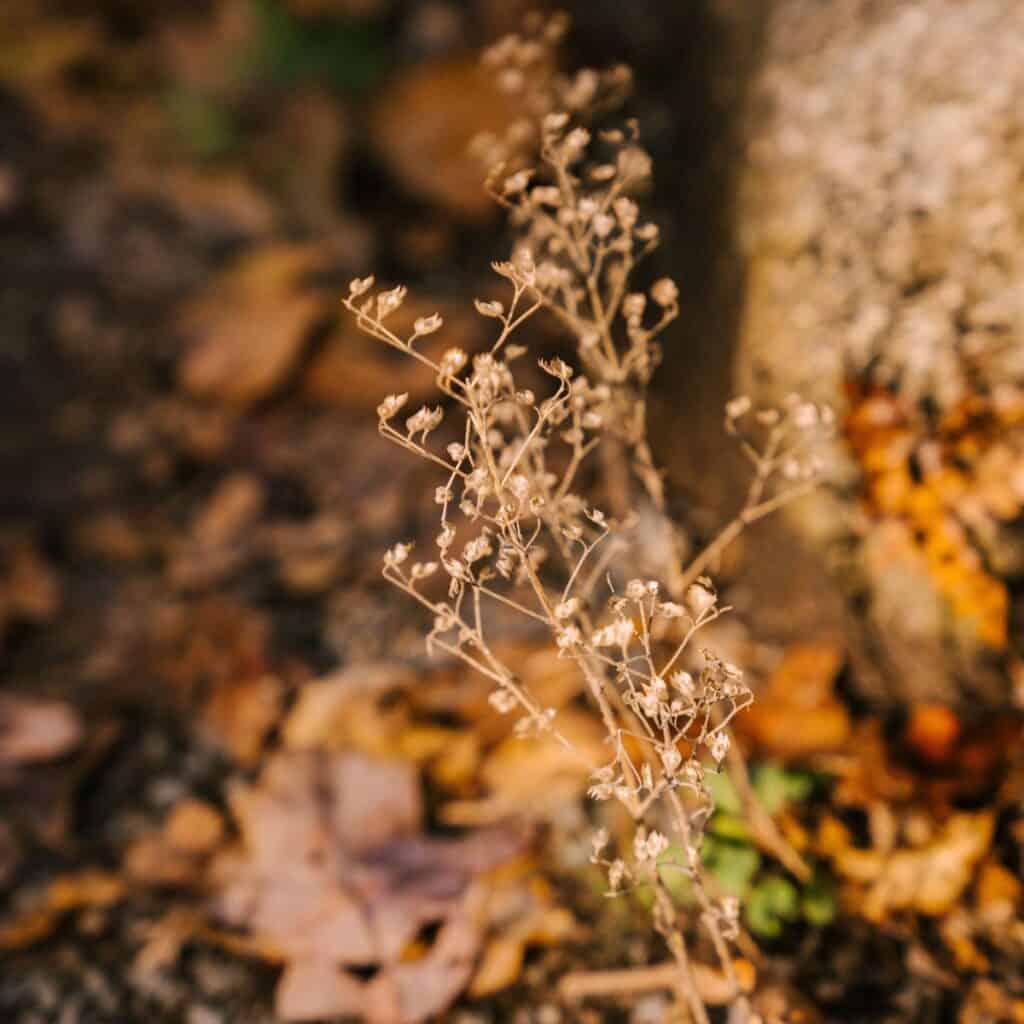
Each season in the garden brings change. Some plants are reaching the end of their productive life, while others are ready to begin. Giving your fall crops the best possible start begins with fall garden prep before planting.
Here in West Texas, late August to early September often finds many summer plants struggling through extreme heat. While a few crops like okra and peppers may continue producing, others are ready to be removed. We often tell people who ask about our garden that August is all about keeping the plants alive until it starts to cool off in September. This is also when we begin to transition to our fall garden. Sadly, this often means we harvest much less fresh produce, but it’s part of gardening out here, and we just go with it.
Fall prep around here is very much a two-person job. My husband Scott handles most of the heavy lifting — clearing out spent plants, pulling weeds, working the soil, while I get the fun part of sorting seeds and starting the next round of seedlings. It’s a good division of labor, and honestly, neither of us would want to trade jobs.
What’s Your Average First Frost Date
One of the most overlooked reasons many gardens fail is not knowing when to plant. It’s easy to get excited about planting seeds or transplants while shopping, but before you buy anything, you have to know your average first frost date. This date helps you decide what you still have time to grow. This date matters more than what all the online influencers tell you to plant.
The average frost date isn’t set in stone; it is only a guideline. Frost may arrive earlier or later each year, so watch your local forecast as the season progresses.
After looking up your first frost date, count backward using the “days to maturity” listed on your seed packets. Add an extra week or two because plants often grow more slowly as days get shorter. I usually like to give myself several extra weeks if I can. I also make sure I have frost cloth ready to go over my rows. You want to have this on hand before the seedlings actually emerge.
Here in West Texas, we need to start planting fall crops while it’s still over 100 degrees outside. If we waited until cool weather arrived, we could miss the best planting window. One nice thing is that I do yard work in the early morning before it heats up, and once it’s too hot to be outside, I can go inside to sort seeds, plan row beds, and start seedlings.
Plants to Remove Before Your First Frost
Before you can plant fall and winter crops, you will need to make room for them. Begin by removing plants that are dead, diseased, heavily damaged, or no longer producing.
Summer crops that may be ready to come out include:
- Spent squash and cucumber vines
- Corn that has finished producing
- Beans that have stopped flowering
- Bolted herbs and greens
- Severely damaged or diseased plants
- Annual flowers that have finished blooming
Tomatoes, peppers, okra, eggplant, and other heat-loving crops may continue producing until frost. You don’t need to remove healthy plants just because fall is approaching. If they are still productive, you can leave them in place and prepare another area for cool-season crops.
You can also remove only a portion of a summer crop. Clearing one row or one end of a garden bed can create enough space to begin succession planting without giving up everything still producing. We do this throughout the season — this is Scott’s domain more than mine, and he’s usually the one out there in the heat deciding what stays and what comes out. Truth be told, I want to try to save each and every plant, but that’s not feasible or a good idea.
Decide What Belongs in the Compost Pile
You can usually add healthy plant material to the compost pile, but diseased plants require more caution.
Avoid placing plants with serious fungal, bacterial, or viral diseases in a home compost pile unless you know your compost gets hot enough to destroy the pathogens. When in doubt, dispose of the plant material away from the garden.
Remove any plants that show signs of disease or pests. Removing diseased plants helps reduce the chance of problems carrying over into the next growing season.
Clean Up Fallen Fruit and Garden Debris
Pick up fallen tomatoes, squash, cucumbers, peppers, and other produce around your plants. Overripe or damaged fruit can attract insects, rodents, and other unwanted visitors.
A small amount of plant debris is normal and can help protect the soil. However, remove thick layers of diseased leaves, rotting produce, and pest-infested material.
Cleaning the garden does not mean stripping the soil completely bare. The goal is to remove material that could create problems while keeping the soil protected.
Remove Weeds Before They Go to Seed
Weeds compete with your fall crops for water, nutrients, light, and growing space. They may also provide shelter for garden pests.
Remove weeds while they are still small and before they produce seeds. Pulling them after watering or rainfall usually makes the job easier because the soil is softer.
Try to remove the entire root when dealing with perennial weeds. If the weeds are healthy and haven’t gone to seed, you can compost many of them. Dispose of weeds with mature seed heads or spreading roots separately.
Fall garden preparation is also a good time to check pathways, fence lines, raised-bed edges, and the areas around irrigation lines.
Be Careful When Pruning
Trim away dead, broken, or diseased branches, but avoid giving every plant a severe pruning simply because the season is changing.
Heavy pruning encourages tender new growth that cold weather may damage. This is especially important with woody herbs, shrubs, and perennial plants.
Healthy stems can also provide food and shelter for beneficial insects and birds. Unless a plant is diseased or creating a problem, some cleanup can wait until late winter or early spring.
Check Your Soil
Summer crops are heavy feeders, and several months of heat, watering, and production can leave garden soil compacted or depleted.
Before planting, take a close look at the soil. Does it drain well? Has it developed a hard crust? Does it still contain plenty of organic matter?
A soil test is the most reliable way to determine what your garden needs. Testing helps you avoid adding fertilizer or amendments the soil may not need.
If you are not testing before each season, you can still improve the bed by laying down a layer of finished compost. Compost supports soil structure, moisture retention, drainage, and biological activity. If you want to make more compost at home, we also have a tutorial on how to make compost for your garden.
Avoid working soil that is extremely wet. Digging or tilling saturated soil can damage its structure and create hard clumps.
Add Compost and Other Amendments
Spread one to two inches of finished compost over the planting area. You can gently work it into the top few inches of soil or leave it on the surface, depending on how you manage your beds.
If your soil test recommends additional nutrients, add the appropriate amendments before planting. Avoid applying fertilizer simply out of habit. Too much fertilizer can damage plants, cause excessive leafy growth, and create nutrient imbalances.
Well-aged manure may also work, but don’t apply fresh manure directly around edible crops. Fresh manure can burn plants and may contain harmful microbes.
Avoid Disturbing the Soil More Than Necessary
It can be tempting to till the entire garden when seasons change, but deep or frequent tilling isn’t always necessary.
Excessive tilling can break down soil structure, bring buried weed seeds to the surface, and disturb earthworms and other beneficial soil organisms.
Instead, loosen compacted areas with a garden fork and work compost into the upper layer only when needed. In established beds with healthy soil, you may be able to remove the old plants, add compost, and plant directly. Scott’s the one who actually does this part of the work, and his rule of thumb is to disturb as little soil as he can get away with.
Plan Your Fall Garden Before Planting
Once you know how much space is available, decide what you want to grow and where each crop will go. Our free Annual Garden Planner includes garden layout pages, seed-sowing logs, calendars, and other pages to help you organize the season.
Cool-season vegetables may include:
- Broccoli
- Cabbage
- Cauliflower
- Kale
- Swiss chard
- Lettuce
- Spinach
- Carrots
- Beets
- Radishes
- Turnips
- Peas
- Onions
- Garlic
Not every crop should be planted at the same time. Some need to be started indoors or purchased as transplants, while others grow best when sown directly in the garden. Seed starting is my job in this operation, so if you are new to it, this quick guide to starting seeds will help you choose containers, soil, lighting, and other basic supplies.
Broccoli, cabbage, cauliflower, and similar crops are often transplanted. Root vegetables such as carrots, beets, radishes, and turnips generally perform best when planted directly in the soil. You can find more crop-specific help in our guides for growing kale, growing carrots, growing spinach, and growing peas.
Choose varieties that mature in time before your expected cold weather. Quick-maturing varieties are especially useful when your fall growing season is short.
Rotate Crop Families When Possible
Avoid planting members of the same plant family in the exact location where they recently grew. Crop rotation can help reduce pest and disease problems and prevent one group of plants from repeatedly drawing the same nutrients from the soil.
For example, avoid planting broccoli, cabbage, kale, or cauliflower in a bed that recently held another brassica.
Crop rotation can be difficult in a small garden, but even moving a crop to the opposite side of a bed is better than planting it in the same spot year after year.
Keeping a simple garden journal makes crop rotation much easier. Record what you planted, where it grew, and any pest or disease problems you noticed.
Prepare Seeds and Transplants for Hot Weather
One of the biggest problems with a fall garden is getting cool-season seeds to germinate while the soil and air are still hot.
Before planting older seeds, consider a simple germination test to see whether they’re still viable. This can prevent you from wasting valuable garden space and time on seeds that are no longer viable.
Keep newly planted seeds consistently moist. A light layer of straw or another fine mulch can help keep the soil surface from drying too quickly, but don’t apply so much that young seedlings cannot emerge.
Shade cloth can also protect newly planted beds and tender transplants from intense afternoon sun. We have a complete tutorial showing how to make a shade cover for a vegetable garden.
Water transplants before planting, place them in the garden late in the day, and water them again after planting. This gives them the cooler overnight hours to begin adjusting to their new location.
If you started your plants indoors, harden off your seedlings before transplanting them into the garden. Slowly exposing them to outdoor conditions reduces transplant shock and helps prevent damage from intense sunlight and wind.
Inspect and Repair Your Irrigation System
Fall crops still need regular watering, especially when planted during late-summer heat.
Before planting, inspect your irrigation system for:
- Clogged emitters
- Cracked hoses
- Loose connections
- Leaking fittings
- Lines that have shifted away from the planting area
Run the system and make sure water is reaching every part of the bed. It is much easier to repair or reposition irrigation lines before seeds and transplants are in place.
As temperatures cool, the garden may not need water as frequently. Keep checking the soil rather than watering strictly by a summer schedule.
Add Mulch After Planting
Mulch helps regulate soil temperature, retain moisture, reduce weeds, and protect the soil from erosion.
Spread mulch around established transplants after planting. When direct-sowing small seeds, wait until the seedlings emerge or use only a very light covering over the row.
Suitable garden mulches include:
- Clean straw
- Shredded leaves
- Untreated grass clippings
- Pine straw
- Finished compost
- Wood chips around pathways and perennial plants
Keep thick mulch pulled slightly away from plant stems to reduce excess moisture and discourage rot.
Continue Watching for Pests
Cooler weather does not mean pest problems are over. Caterpillars, aphids, flea beetles, grasshoppers, and other insects can quickly damage young fall crops.
Check the undersides of leaves and inspect seedlings several times a week. Young plants can be severely damaged quickly, so early detection matters.
Row covers, or insect netting, can protect many cool-season crops. Our tutorial for making DIY garden row covers explains how to build simple plastic tunnels that can help protect your plants.
If you use covers for insect protection, secure the edges so pests cannot crawl underneath. Remove or adjust the covers when necessary for pollination.
Shield Crops From an Early Frost
Many cool-season vegetables can tolerate light frost, and some become sweeter after exposure to cold temperatures. However, young plants and warm-season crops may still need protection.
Keep frost cloth, row covers, old sheets, or other plant coverings ready as temperatures drop. Avoid placing plastic directly against plant leaves because the foliage touching the plastic may freeze.
Cover plants before sunset to trap warmth from the soil, and remove or vent the covering once temperatures rise the following day.
Move potted plants into a protected area, and harvest tomatoes and peppers early if a hard freeze is expected.
Plant a Cover Crop in Empty Beds
If you do not plan to grow vegetables in every bed, consider planting a cover crop instead of leaving the soil bare.
Cover crops can:
- Reduce erosion
- Control weeds
- Add organic matter
- Improve soil structure
- Support beneficial soil organisms
Learn more about choosing and managing them in our guide to using cover crops to improve soil health.
Select a cover crop suited to your climate and the time you have before you replant the bed. Some cover crops die in winter weather, while others must be cut down or otherwise terminated before they produce seed.
If a cover crop is not practical, protect unused beds with compost, shredded leaves, straw, or another organic mulch.
Clean and Store Garden Supplies
Seasonal cleanup is a good opportunity to organize your garden tools and supplies.
Remove soil from hand tools, sharpen pruners, and clean any tools used on diseased plants. Drain and store sprayers according to the manufacturer’s directions. Organize leftover seeds and record which varieties performed well.
Check row covers, frost cloth, hoops, and clips before you need them. Repairing or replacing damaged supplies now will make it much easier to protect the garden when cold weather arrives.
Fall Garden Preparation Checklist
Before planting your fall garden:
- Find your average first frost date.
- Decide which summer plants are still worth keeping.
- Remove dead, diseased, and unproductive plants.
- Pick up fallen fruit and problem debris.
- Pull weeds before they produce seed.
- Add finished compost.
- Apply soil amendments only when needed.
- Plan crop placement and rotation.
- Check days to maturity on seed packets.
- Test older seeds for germination.
- Inspect and repair irrigation lines.
- Prepare shade cloth for hot planting conditions.
- Harden off transplants before planting.
- Add mulch after planting.
- Watch young crops closely for pests.
- Keep frost protection ready.
- Plant a cover crop or mulch unused beds.
Fall Garden Prep: Setting Up for a Productive Season
Fall garden prep is less about clearing everything at once and more about a gradual transition. Productive summer plants can remain while you clean, improve, and plant empty spaces with next season’s crops.
Here in West Texas, fall garden preparation often begins while temperatures are still high. It may not feel like fall yet, but starting early gives cool-season vegetables enough time to become established before shorter days and colder weather arrive.
By removing unhealthy plants, improving the soil, planning around your first frost date, and protecting young seedlings from late-summer heat, you can give your fall garden a healthy and productive start.
For more help planning what comes next, explore our vegetable gardening guides or download the free Annual Garden Planner to keep track of planting dates, seed varieties, garden layouts, pests, and harvests.
MORE GARDENING HELP
If you still have questions, let me know in the comments section below or contact me in our private Facebook group.