How to Make and Can Homemade Blackberry Jelly
When I began sharing pictures from our blackberry bushes on our Instagram account I was asked to share some of the ways we use our blackberries. Today I’m sharing how to make and can homemade blackberry jelly. This simple small-batch recipe includes instructions for canning the jelly as well. The Jelly can also be stored in the refrigerator. If not canning, enjoy jam within a week or two.
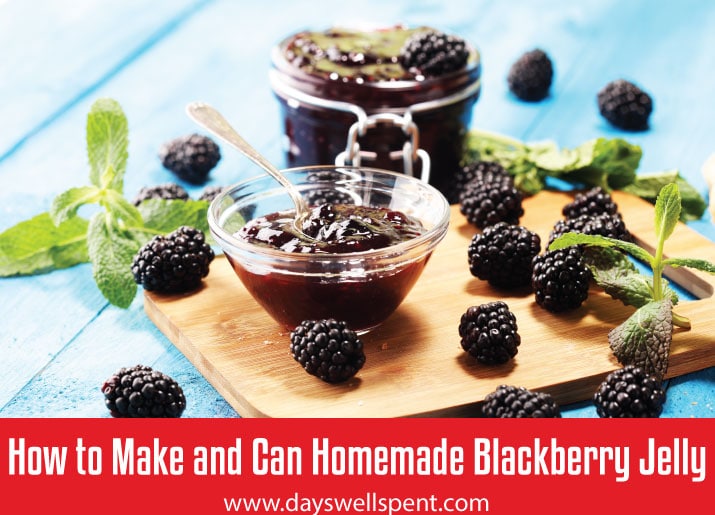
JAM VS JELLY
Jelly is a clear fruit spread made from cooked fruit juice and sugar, and possibly pectin, which helps it gel and thicken. After the initial cooking, jelly is strained through a muslin stockinette or “jelly bag” to remove any solids.
Jam is a thick spread made from fruit juice, chopped, crushed, or puréed fruit, and sugar. Pectin may also be added to help it gel, but jams are usually looser than jellies. Jam typically contains a bit of fruit pulp, so it’s not entirely transparent.
If you’re interested in learning more about growing blackberries be sure to read this post: How to Grow the Best Blackberries
HOW TO MAKE THE BLACKBERRY JELLY
Note: This recipe follows the guidelines for safe canning as set by the National Canter for Home Food Preservation and recommendations by Ball Canning.
INGREDIENTS
Yield: About 4 or 5 half-pint jars
- 4 cups blackberry juice (about 2½ quarts of berries and ¾ cup water)
- 3 cups of sugar
- Juice and grated zest of 1 lemon optional
INSTRUCTIONS
TO PREPARE JUICE
- Select about ¼ firm ripe and ¾ fully ripe berries.
- Sort and wash; remove any stems or caps.
- Crush berries, add water, cover and bring to boil on high heat. Stir to prevent scorching. Reduce heat and simmer for 5 minutes.
- When fruit is tender, pour everything through a double layer of dampened cheesecloth or a damp jelly bag.
- Suspend the bag over a bowl or pan, using a stand or colander to hold the bag. Drain the juice without pressing or squeezing, which will cause cloudy jelly.
TO MAKE JELLY
- Sterilize canning jars.
- Measure juice into a saucepot. Add sugar and stir well.
- Boil over high heat until the temperature measures 8°F above the boiling point of water (220°F at sea level), or until the jelly mixture sheets from a metal spoon (sheet test).
CANNING THE BLACKBERRY JELLY
Remove from heat; skim off foam quickly. Pour hot jelly immediately into hot, sterile jars, leaving ¼ inch headspace. Wipe rims of jars with a dampened, clean paper towel; adjust two-piece metal canning lids. Process in a boiling Water Canner.
ABOUT WATER BATH CANNING
Water bath canning is a safe and easy way to preserve foods that are high in acid. If you have never used a water bath canner, you may find our water bath canning 101 post helpful.
STORING HOMEMADE BLACKBERRY JELLY
If you do not can the jelly, store it in the refrigerator and use it within 1-2 weeks.
Store Jars that have been processed in the pantry unopened for up to one year. After opening the jar, store it in the refrigerator.

