How to Make Homemade Dill Pickles: Recipe Included
This year has been one of the best seasons we’ve had in a long time. I don’t think we’ve ever gotten so many cucumbers. We finally had enough ready at once to make a large batch of dill pickles. Of course, I couldn’t resist getting out the camera and making a quick video to show you how to make your own dill pickles at home.
Preserving Method: Water Bath Canning
Makes about 4 (16 oz) pints or 3 quarts (32 oz)
YOU WILL NEED
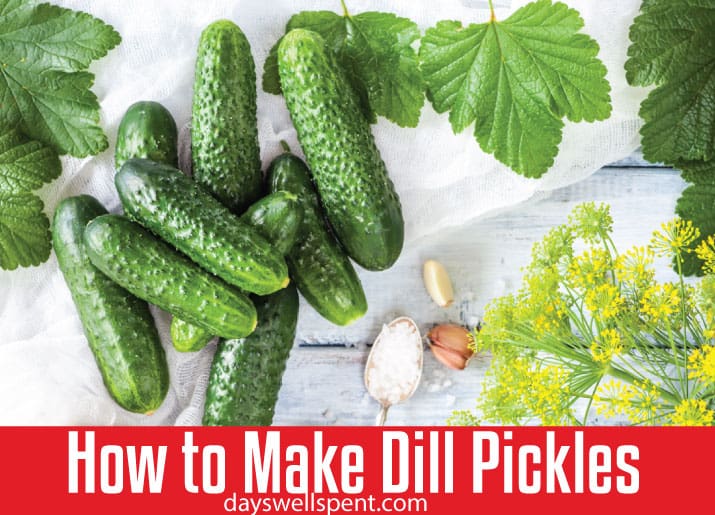
- 3 1/2 lbs pickling cucumbers (about 14 small to medium)
- 1 1/2 cups vinegar
- 2 cups of water
- 1/4 cup + 2 Tbsp Ball Dill Pickle Mix
- 3 Ball® (32 oz) quart glass preserving jars with lids and bands
- Water Bath Canner or Ball® freshTECH Electric Water Bath Canner (if you plan to can)
DIRECTIONS
- PREPARE boiling water canner. Heat jars in simmering water until ready for use. Do not boil. Wash lids in warm soapy water and set bands aside.
- WASH cucumbers. Drain. Cut cucumbers into 1/4-inch thick slices, discarding ends.
- COMBINE Sill mix, vinegar, and water in a large saucepan. Bring to a boil. Keep hot until ready for use.
- PACK cucumbers into hot jars leaving 1/2 inch headspace.
- LADLE hot liquid over cucumbers leaving 1/2 inch headspace. Remove air bubbles. Wipe rim. Center hot lid on jar. Apply band and adjust until fit is fingertip tight.
- PROCESS filled jars in a boiling water canner for 15 minutes, adjusting for altitude. Remove jars and cool. Check for seal after 24 hours. Lids should not flex up and down when the center is pressed.
If you’re new to canning be sure to read our water bath canning information.