Store-Bought: Dilly Beans (Pickled Green Beans)
Welcome to the first episode of Store-Bought: our series proving you don’t need a garden to fill your pantry. Every recipe in this series starts the same way: with produce bought in bulk from a regular grocery store. Nothing more is required than what you can pick up on a normal shopping trip.
We’re starting with the easiest, most forgiving pickle there is: dilly beans.
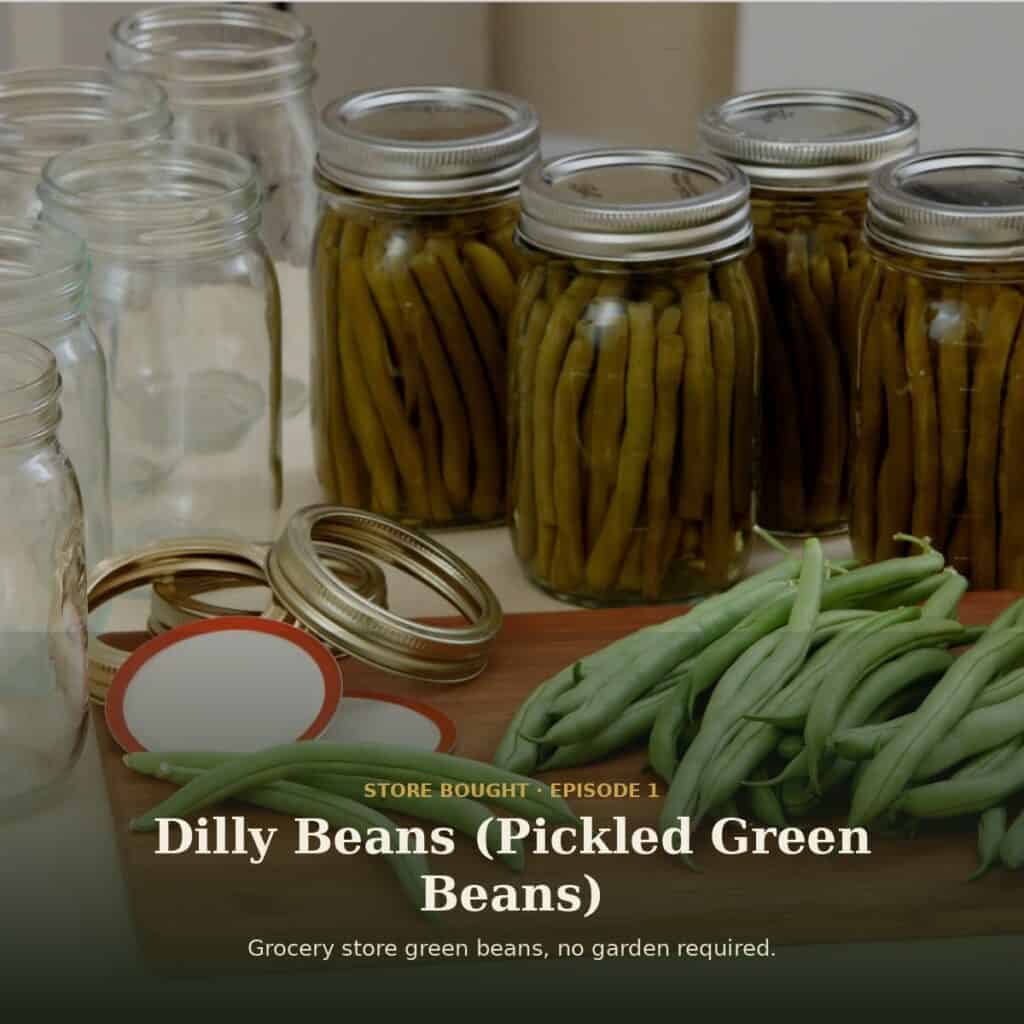
A Short History of Dilly Beans
Pickling itself is one of the oldest food preservation methods in existence, with roots going back thousands of years. Green beans have their own long history too — the plants they come from were first domesticated in Mexico and Peru somewhere between 7,000 and 10,000 years ago, long before they ever made their way into a pickling brine.
Dilly beans specifically — pickled green beans flavored with dill — have a more recent, and surprisingly well-documented, origin. According to their entry in food history records, dilly beans were developed as a commercial product in 1958 by Sonya Hagna and Jacquelyn Park, who introduced them through a well-known radio advertising campaign. They caught on quickly, becoming a popular cocktail-hour snack through the 1960s, and they remain especially associated with Vermont today, where green beans grow in abundance.
So while dilly beans as we know them are a mid-century creation, nobody alive today invented them, and no single seller can claim to be their originator. They’re a shared piece of American food history — which is exactly why we’re happy to hand you our version and let you make them your own.
Why Start Here
Dilly beans are about as forgiving as canning gets. There’s no delicate fruit to bruise, no finicky set to worry about, and the whole process- trim, pack, brine, process — takes about twenty minutes of hands-on time. If you’ve never canned anything before, this is a genuinely great place to start.
And to keep with the point of this series: everything below was bought at a regular grocery store. No garden required.
Equipment
- 1 multi-use water bath canner or deep pot with a lid
- 1 canning funnel
- 1 jar lifter
- 6 regular mouth lids and rings
- 6 pint jars
Ingredients
For the jars
- 3–4 lbs fresh green beans, cleaned and washed
- 3 tsp dill seeds, separated
- ½ medium onion, cleaned and thinly sliced (optional)
- 3 tsp red pepper flakes (optional)
For the brine
- 3 cups water
- 3 cups distilled white vinegar (5%)
- 3 tbsp canning salt
Instructions
- Prepare your lids and rings, water bath, and brine. Bring the water bath and brine to a boil as the jars and beans are prepared.
- Divide the sliced onion between the bottom of each sterilized jar — adjust the amount to your own preference. Take one bean, and using the jar as a guide, trim it to within ½ inch of the top (this leaves the right amount of headspace). Use that “guide” bean to trim the rest to match.
- Pack the beans into the jars standing upright, pressing gently until they’re snug. Add dill seeds on top of the beans in each jar. If you want a spicy bean, add crushed red pepper flakes to each jar as well.
- In a saucepan, combine the water, vinegar, and canning salt. Bring to a boil to form the brine.
- Once the water bath and brine are both boiling, ladle the hot brine over the beans in each jar, leaving ½ inch of headspace. Place the prepared lids and rings on the jars and lower them into the water bath. Process for 12 minutes once the water returns to a full boil.
- After processing, use a jar lifter to remove the jars from the water. Let them rest undisturbed for 12–24 hours before removing the rings.
A Few Notes
- These need patience: let them sit at least two weeks before opening for the best flavor. They’ll keep up to a year stored in a cool, dark place.
- This recipe is easily doubled if you want to put up more than six pints at once — just make sure your pot is large enough to keep all the jars fully submerged during processing.
- If you like a bit of heat, don’t skip the red pepper flakes — they mellow nicely over the two-week wait and add a pleasant background warmth rather than overwhelming spice.
More From Store Bought
This is just the first episode — we’ll be adding a new one regularly, all built around the same idea: a garden isn’t required to fill your pantry. Head over to the Store Bought hub page to see every episode as they go live, along with tips on buying produce in bulk and a quick refresher on canning safety basics.
Sources & Further Reading
- Wikipedia — Dilly beans. Documents the 1958 commercial origin of dilly beans by Sonya Hagna and Jacquelyn Park, and their rise in popularity through the 1960s.
- Tasting Table — “Most Of The World’s Green Beans Come From This Country.” Covers the domestication history of the common bean in Mexico and Peru.
Buffalo Gap Farmers Market
Don’t want to wait to try pickled green beans? If you’re in the area, stop by the Buffalo Gap Farmers Market and pick up a couple of jars.

Dilly Beans (Pickled Green Beans)
Equipment
- 1 multi-use water bath canner or deep pot with a lid
- 1 canning funnel
- 6 regular mouth lids and rings
- 6 pint jars
Ingredients
- For the jars
- 3 –4 lbs fresh green beans cleaned and washed
- 3 tsp dill seeds separated
- ½ medium onion cleaned and thinly sliced (optional)
- 3 tsp red pepper flakes optional
- For the brine
- 3 cups water
- 3 cups distilled white vinegar 5%
- 3 tbsp canning salt
Instructions
- Prepare your lids and rings, water bath, and brine. Bring the water bath and brine to a boil as the jars and beans are prepared.
- Divide the sliced onion between the bottom of each sterilized jar — adjust the amount to your own preference. Take one bean, and using the jar as a guide, trim it to within ½ inch of the top (this leaves the right amount of headspace). Use that “guide” bean to trim the rest to match.
- Pack the beans into the jars standing upright, pressing gently until they’re snug. Add dill seeds on top of the beans in each jar. If you want a spicy bean, add crushed red pepper flakes to each jar as well.
- In a saucepan, combine the water, vinegar, and canning salt. Bring to a boil to form the brine.
- Once the water bath and brine are both boiling, ladle the hot brine over the beans in each jar, leaving ½ inch of headspace. Place the prepared lids and rings on the jars and lower them into the water bath. Process for 12 minutes once the water returns to a full boil.
- After processing, use a jar lifter to remove the jars from the water. Let them rest undisturbed for 12–24 hours before removing the rings.